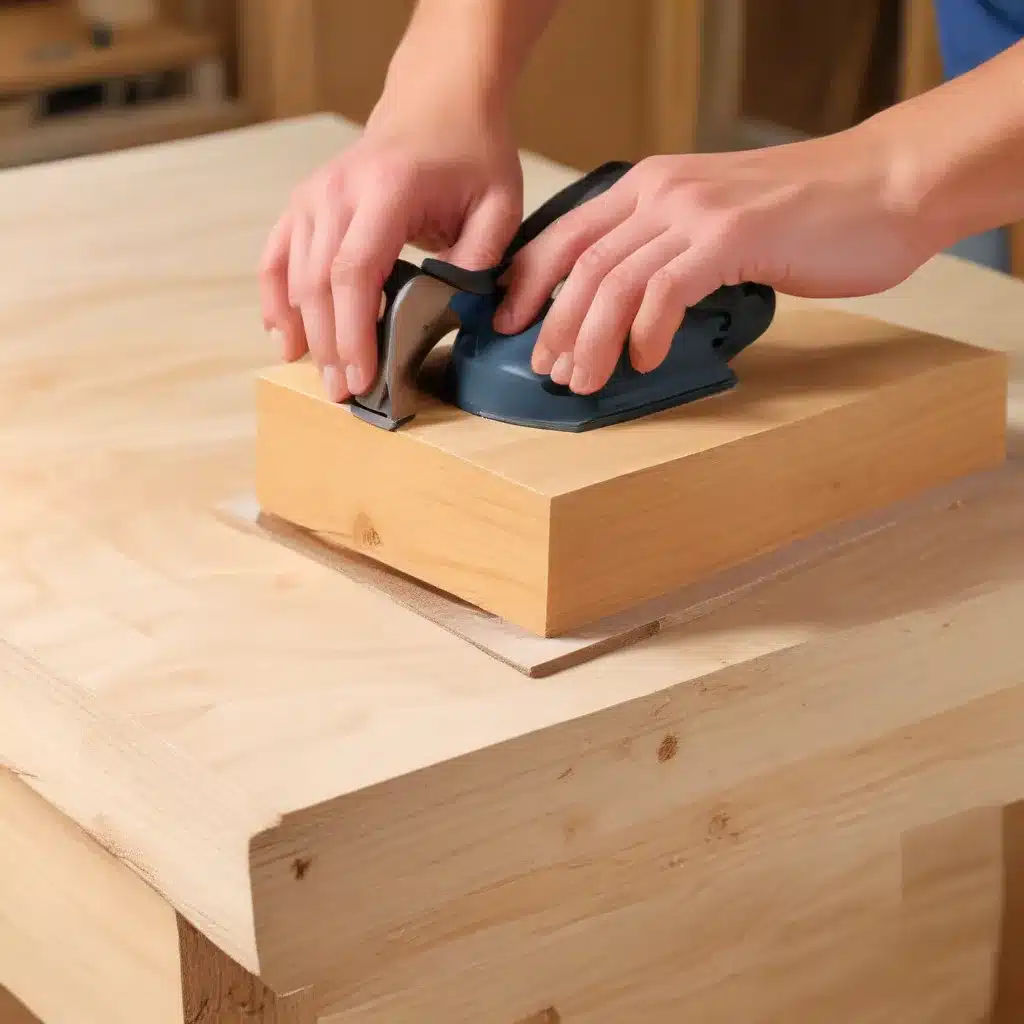
The Foundations of a Smooth Finish
As an experienced woodworker, I’ve learned that the secret to achieving a flawless finish on your projects lies in the sanding process. Too often, woodworkers overlook the importance of proper sanding techniques, thinking that a quick pass with an orbital sander will do the trick. But the truth is, sanding is a critical step that requires patience, precision, and a keen eye for detail.
One of the most common mistakes I see is starting with too coarse a grit. Sure, 80-grit sandpaper can quickly knock down the rough spots, but it also leaves behind deep scratches that are nearly impossible to remove with subsequent finer grits. Instead, I recommend starting with 120-grit paper, which will remove those initial imperfections without creating a new set of problems.
From there, it’s all about working your way through the grits systematically. I usually move up to 150, then 180, and finally 220 or 320 grit. The higher the number, the finer the paper, and the smoother the resulting surface. But don’t just take my word for it – check out this article that delves deeper into the benefits of using higher-grit sandpaper.
Mastering the Orbital Sander
Now, I know what you’re thinking – “Why do I need to bother with all these different grits when I can just use my trusty orbital sander and call it a day?” And believe me, I understand the appeal. Orbital sanders are powerful, efficient, and can help you achieve a relatively smooth finish in a fraction of the time it would take to do it by hand.
However, as with any tool, there are some nuances to using an orbital sander effectively. One of the key secrets is to let the sander do the work for you. Avoid the temptation to press down too hard, as this can actually create more uneven surfaces and leave behind those pesky swirl marks. Instead, maintain a light, even pressure and let the sander glide across the wood.
Another essential tip is to be mindful of the direction of your sanding strokes. When using an orbital sander, it’s easy to end up with cross-grain scratches that can be challenging to remove. To combat this, I recommend sanding in the direction of the wood grain whenever possible, and paying extra attention to areas like corners and edges where the grain can change direction.
Tackling Tricky Spots
Of course, even with the best orbital sanding technique, there will always be those hard-to-reach areas that require a more hands-on approach. Sanding coves, inside corners, and other intricate details can be a real pain, leaving your fingers cramped and sore by the end of the day.
That’s where hand sanding comes in. As one of my fellow turners on Reddit pointed out, using a wood block or sanding sponge can make a big difference in your ability to sand these tricky spots evenly. The block provides a stable, flat surface to work against, helping you maintain a consistent pressure and avoid those pesky depressions that can occur when sanding by hand without a backer.
For coves and other tight spaces, I’ve found that a compact detail sander or a Dremel tool with a sanding attachment can be a real lifesaver. These small, maneuverable tools allow you to get into the nooks and crannies that your orbital sander just can’t reach, ensuring a seamless, uniform finish.
The Final Touches
Now, even with all this careful sanding, you’re not quite done yet. One of the secrets I’ve learned is to sand between each coat of finish, whether you’re applying stain, paint, or a clear topcoat. As the folks at Queen Patina pointed out, this extra step helps to smooth out any imperfections and create a truly flawless surface.
When it comes to the final coat, you’ll want to be especially meticulous. Take your time, apply the finish carefully, and avoid any bubbles or streaks. And don’t forget to give the surface a final once-over with a crumpled piece of construction paper – this simple trick helps to remove any lingering dust or debris without affecting the finish itself.
Embracing the Journey
Sanding may not be the most glamorous part of woodworking, but it’s an essential step that can make all the difference in the final outcome of your projects. By mastering the art of sanding, you’ll be able to create stunning, professional-looking pieces that will make you the envy of your fellow woodworkers.
Of course, the journey to a flawless finish doesn’t happen overnight. It takes time, practice, and a willingness to experiment with different techniques and tools. But that’s all part of the joy of woodworking, isn’t it? The thrill of discovering a new trick or technique that takes your work to the next level.
So, don’t be afraid to get your hands dirty, to try out new sanding methods, and to embrace the process. After all, the journey is just as rewarding as the destination. And who knows, you might just uncover a few sanding secrets of your own along the way.
Remember, the key to a flawless finish is patience, attention to detail, and a relentless commitment to honing your craft. With these tools in your arsenal, you’ll be well on your way to creating stunning, show-stopping woodworking pieces that will make you the envy of your peers.
And don’t forget to visit https://woodcraftparts.net/ for all your woodworking needs – from high-quality tools and equipment to the latest techniques and project ideas. Happy sanding, my fellow woodworking enthusiasts!

