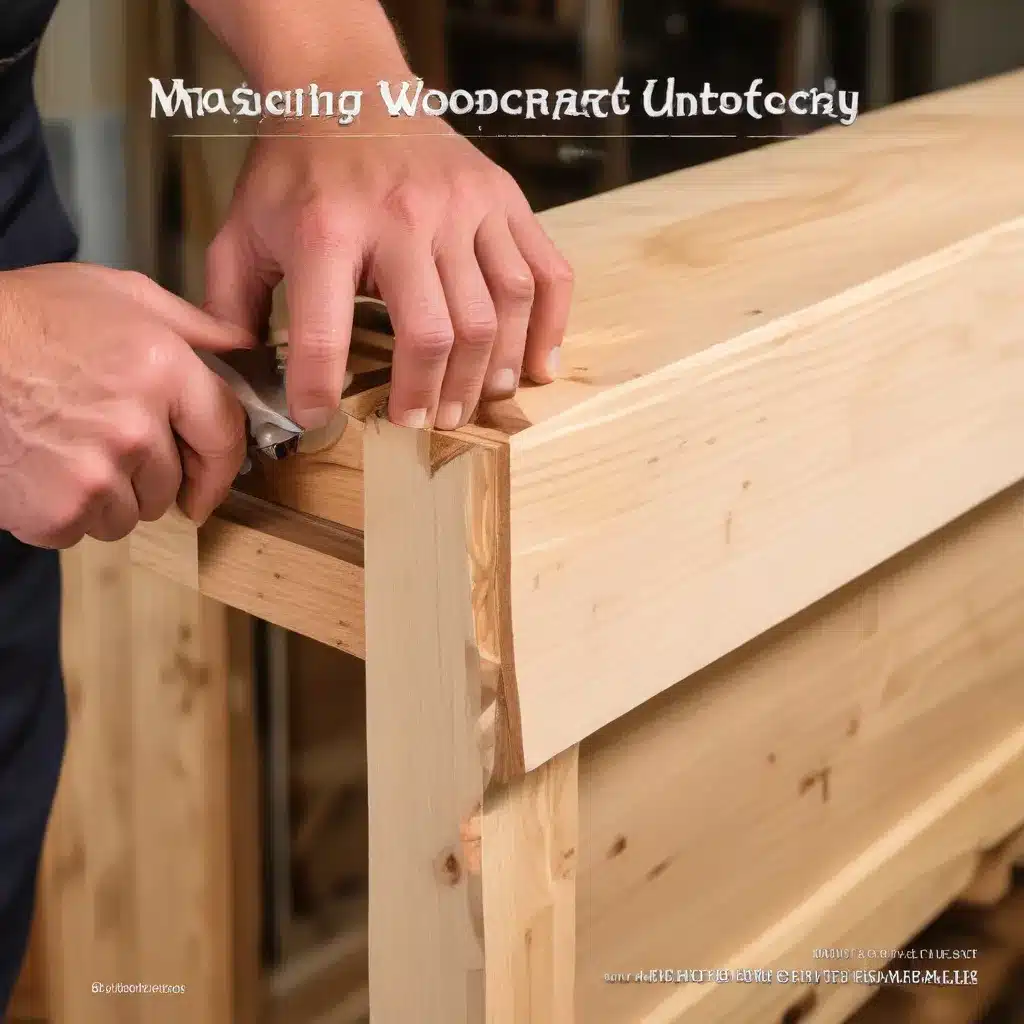
Understanding the Fundamentals of Wood Joinery
As an experienced woodworker and craftsman, I’ve come to deeply appreciate the art of wood joinery. It’s the cornerstone of fine woodworking, allowing us to create sturdy and visually captivating connections between pieces of timber. Whether you’re a seasoned professional or an enthusiastic beginner, mastering different joinery techniques is essential for crafting enduring and aesthetically pleasing projects.
In this comprehensive guide, I’ll share insights into various wood joinery methods, exploring their strengths, applications, and how to approach them with precision. From the classic dovetail joint to the versatile mortise and tenon, each technique offers unique advantages that can elevate your woodworking skills.
Dovetail Joints: A Timeless Hallmark of Fine Craftsmanship
Dovetail joints are renowned for their strength and distinctive appearance, making them a staple in drawers, boxes, and high-end cabinetry. To achieve a seamless dovetail joint, precise marking and cutting techniques are crucial.
Start by using a sharp marking knife and gauge to ensure your layout is flawless. When it comes to the cutting, practice is key. Employ a dovetail saw to cleanly cut the pins and tails, gradually fine-tuning the fit until the joint is a perfect, snug connection.
The secret to a successful dovetail lies in the fine-tuning process. Paring away excess wood with a sharp chisel is essential for achieving that coveted, seamless fit. It may take some trial and error, but the satisfaction of a well-executed dovetail joint is unparalleled.
Mortise and Tenon Joints: A Versatile and Robust Solution
The mortise and tenon joint is a true workhorse in the world of woodworking. Commonly seen in tables, chairs, and frames, this connection provides excellent support and alignment for your structures.
Accurate marking and chiseling are the foundation of a successful mortise and tenon joint. Ensure your mortise and tenon are precisely sized, using sharp chisels and careful measurements. Conducting test fits is crucial, as you’ll need to adjust the joint until it’s snug but not overly tight.
When it comes time to assemble, be generous with the wood glue and use clamps to secure the pieces together for a strong, lasting bond. With practice, you’ll master the art of creating robust mortise and tenon joints that can withstand the test of time.
Half-Lap Joints: A Straightforward Yet Effective Connection
The half-lap joint is a simple yet elegant solution for connecting two pieces of wood at the same level. Often found in frames, boxes, and cabinetry, this technique is a great option for woodworkers seeking a strong, visually appealing joint.
Precision is key when marking the half-lap joint. Use a fine-toothed saw to make clean, straight cuts along your marked lines. Once the joint is assembled, ensure the surfaces are smooth and flush by refining the fit with a sharp chisel or rasp.
The beauty of the half-lap joint lies in its simplicity and versatility. It’s a great choice for projects where a sturdy, flush connection is required without the complexity of more intricate joinery methods.
Bridle Joints: A Robust and Visually Striking Option
Bridle joints are a strong and visually striking choice, commonly used in table legs, chairs, and frames. Achieving a well-executed bridle joint requires careful attention to detail during the marking and cutting process.
Precision is paramount when creating the interlocking joint. Use a sharp chisel to make clean, accurate cuts, and be sure to conduct test fits to ensure a snug, seamless connection. Minor adjustments may be necessary to perfect the fit before applying glue and clamping the pieces together.
The bridle joint’s beauty lies in its seamless, interlocking design. When crafted with care, it can elevate the aesthetic of your woodworking projects while providing exceptional strength and stability.
Tongue and Groove Joints: A Secure and Seamless Connection
Tongue and groove joints offer a strong, seamless connection, making them a popular choice for flooring, paneling, and cabinetry. Ensuring the tongue and groove are precisely sized for a snug fit is crucial for this joinery method.
Apply wood glue to the joint and carefully align the pieces, using clamps to secure them together. The interlocking design of the tongue and groove creates a sturdy, visually appealing connection that can withstand the demands of your projects.
One of the advantages of the tongue and groove joint is its ability to conceal the joint line, resulting in a clean, continuous appearance. With careful attention to detail, you can produce flawless tongue and groove connections that enhance the overall aesthetic of your work.
Mastering Wood Joinery: The Key to Enduring Craftsmanship
Mastering wood joinery is an essential skill for any serious woodworker. By understanding and practicing these diverse techniques, you’ll be able to create pieces that not only withstand the test of time but also showcase the artistry and precision of fine woodworking.
Remember, patience and practice are the keys to achieving seamless, enduring joints. Embrace the challenge, and let your craftsmanship shine in every project you undertake. With the right tools, techniques, and a dedication to excellence, you’ll be well on your way to mastering the art of wood joinery.
If you’re interested in expanding your woodworking skills and exploring a wide range of projects, be sure to visit Woodcraft Parts. Our online store offers a wealth of high-quality woodworking tools, materials, and resources to support your creative journey.
Happy joinery, my fellow woodworking enthusiasts!

