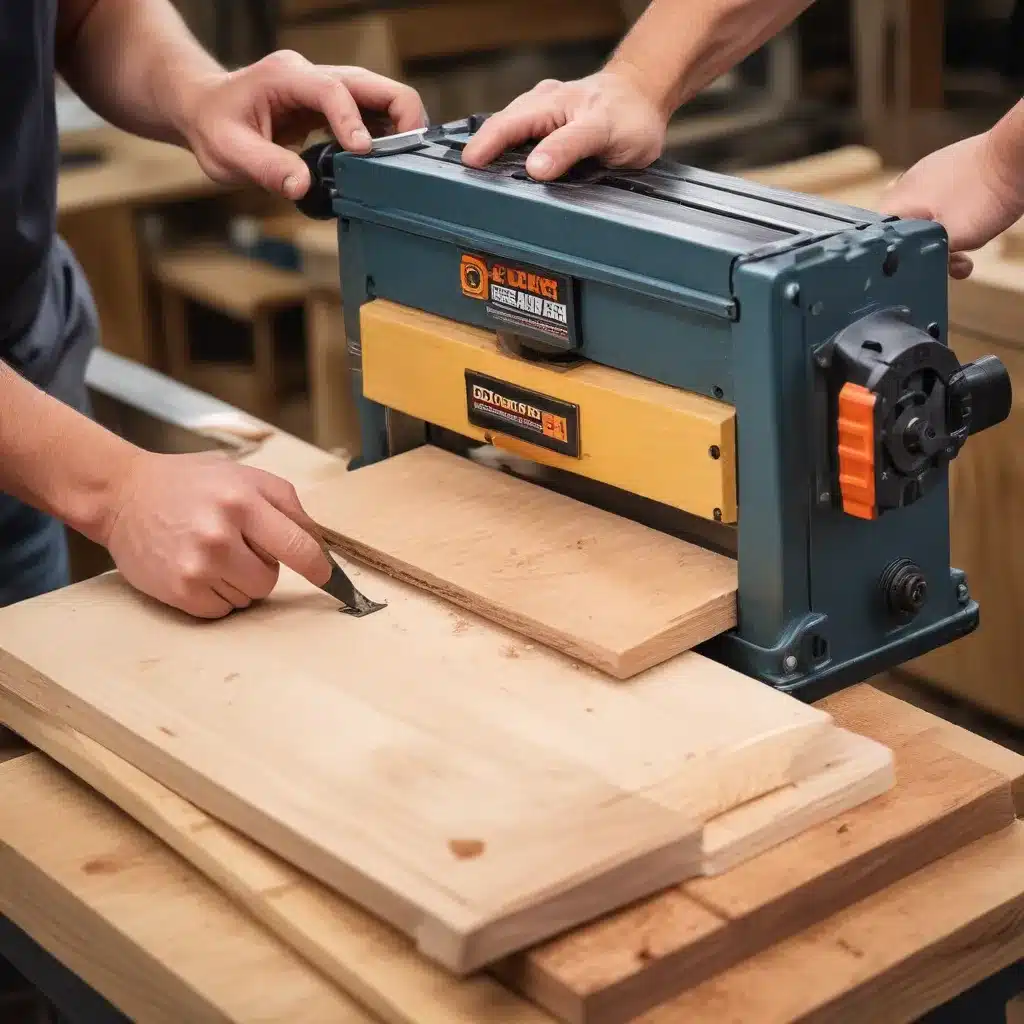
Unlocking the Power of Your Planer: Essential Maintenance Tips
As an experienced woodworker, I understand the importance of maintaining your tools in top-notch condition. One piece of equipment that deserves special attention is the thickness planer. This workhorse in the workshop can make or break your woodworking projects, so it’s crucial to keep it running smoothly. In this comprehensive guide, I’ll share my insights and practical tips on how to properly maintain your thickness planer, ensuring it delivers consistent, high-quality results for years to come.
Preserving the Planer’s Cutting Edges
The heart of your thickness planer is the cutterhead, which does the heavy lifting when it comes to smoothing and leveling your workpieces. To keep this critical component in pristine condition, regular cleaning and sharpening are a must. Start by removing any accumulated dust, chips, or sappy residue from the cutterhead using mineral spirits and a clean rag or a brass-bristle brush. Be cautious when handling the sharp blades – safety should always be your top priority.
Now, let’s talk about blade sharpness. Dull planer knives can cause uneven surfaces, tear-out, and even damage to your workpiece. Keep a spare set of blades on hand, and replace them at the first sign of dulling. Attempting to sharpen disposable, double-edged planer knives can be a tricky and time-consuming task, so it’s generally more practical to simply swap them out. For longer-lasting results, consider investing in a quality sharpening system, such as a wet grinder or a dedicated planer blade sharpener.
Maintaining the Planer’s Feeding System
Smooth and consistent workpiece feeding is crucial for achieving the best possible finish. Keep a close eye on the planer’s feed rollers, as they can accumulate dust, chips, and residue over time, leading to slippage and uneven feeding. Periodically clean the rollers with mineral spirits or naphtha, using a clean rag, to restore their grip and ensure your workpieces glide through effortlessly.
Additionally, pay attention to the alignment and height of your planer’s infeed and outfeed tables. Proper table adjustment can help minimize the dreaded problem of snipe – the indentation or dip at the beginning and end of a workpiece. Aim to set the outer ends of the tables about 1/16″ higher than the planer’s main table, creating a gentle slope that guides your workpiece smoothly through the cutting process.
Maintaining Planer Cleanliness and Lubrication
A well-maintained planer is a clean planer. Regularly use a shop vacuum or compressed air to remove any accumulated dust and debris from the machine’s interior, including the cutterhead, rollers, and table surface. This not only preserves the tool’s performance but also helps to maintain a safer work environment by reducing the risk of respiratory issues from airborne particulates.
Don’t forget to keep the planer’s mechanical components well-lubricated as well. Apply a light coating of dry paraffin wax or a specialized machine lubricant to the elevation screws and guide posts, ensuring smooth and effortless height adjustments. This simple maintenance task can extend the life of your planer and prevent premature wear on these critical moving parts.
Mastering Planer Troubleshooting
Even with the best of care, your thickness planer may encounter the occasional hiccup. Be prepared to tackle common issues, such as uneven cutting, snipe, or motor overloading. Regularly check the planer’s table flatness using a long straightedge, and address any warping or low spots by contacting the manufacturer for guidance.
In the event of motor brush wear, which can lead to decreased power and performance, make a habit of inspecting and replacing them every 100 hours of use. Staying vigilant and addressing problems promptly will help you avoid more costly and time-consuming repairs down the line.
Integrating Dust Collection for a Cleaner Workshop
Woodworking can be a messy business, and your thickness planer is a prime culprit when it comes to generating a flurry of wood chips and dust. To maintain a healthier work environment and extend the lifespan of your planer, invest in a high-quality dust collection system. Connect your planer to the dust collector using the appropriate hoses and fittings, ensuring a tight seal to maximize the system’s effectiveness.
Regular cleaning and maintenance of the dust collection equipment, including replacing filters as needed, will further enhance its performance and keep your workshop air quality in top shape. By taking this extra step, you’ll not only protect your lungs but also safeguard your planer’s internal components from the damaging effects of accumulated debris.
Embracing the Power of Waxing
The final touch in maintaining your planer’s peak performance is the application of a protective wax coating on the table surface. A thin layer of paste wax will create a slick, low-friction surface, allowing your workpieces to glide across effortlessly without any unwanted drag or sticking. This simple yet effective step can make a significant difference in the quality of your planed surfaces, reducing the risk of tear-out and ensuring a consistently smooth finish.
Remember to reapply the wax coating periodically, as it can wear off over time with repeated use. A well-waxed planer table will not only enhance your productivity but also contribute to the longevity of your valuable woodworking tool.
Conclusion: Unlocking the Potential of Your Thickness Planer
Maintaining a thickness planer may seem like a daunting task, but with the right approach and a bit of regular attention, you can keep your workhorse in top-notch condition for years to come. By following the tips and techniques I’ve shared in this article, you’ll be well on your way to unlocking the full potential of your planer, ensuring it delivers flawless results time and time again.
Remember, a well-maintained tool is a joy to use, and the satisfaction of creating stunning woodworking projects with precision-planed surfaces is truly unparalleled. So, embrace the art of planer maintenance, and let your creativity soar to new heights. Happy woodworking!

